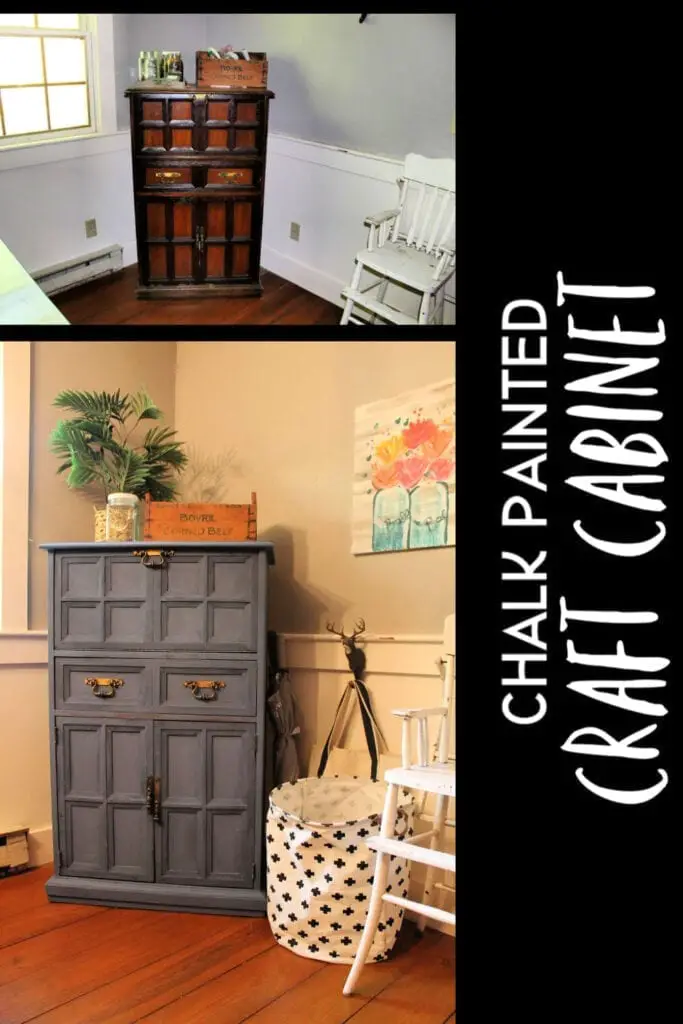
When we moved into this house about five years ago, a few pieces of furniture were left behind.
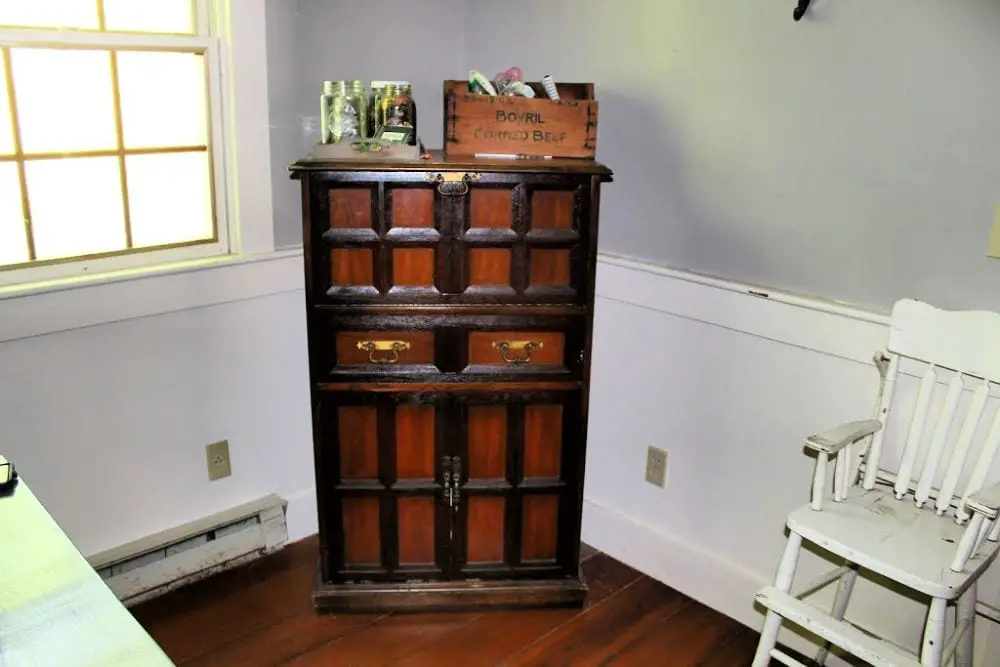
One was this weird cabinet thing in the dining room.
I didn’t have anything else to put there, so I left it even though it was pretty ugly.
(I think it originally was meant to be a bar or liquor cabinet, but since I have no need for one of those, I began using it to store all of my kid’s extra craft supplies.)
I had planned to give it a makeover. Now, five years later, it finally happened.
Chalk Painting a Cabinet
I chose chalk paint because it requires no prep. You don’t need to sand or prime before painting. And since this piece had so many grooves, sanding seemed like a nightmare.
The supplies I used:
- Rustoleum Coastal Blue Chalk Paint
- These Brushes (I wish I would’ve bought smaller brushes.)
Here’s what the first coat was looking like…
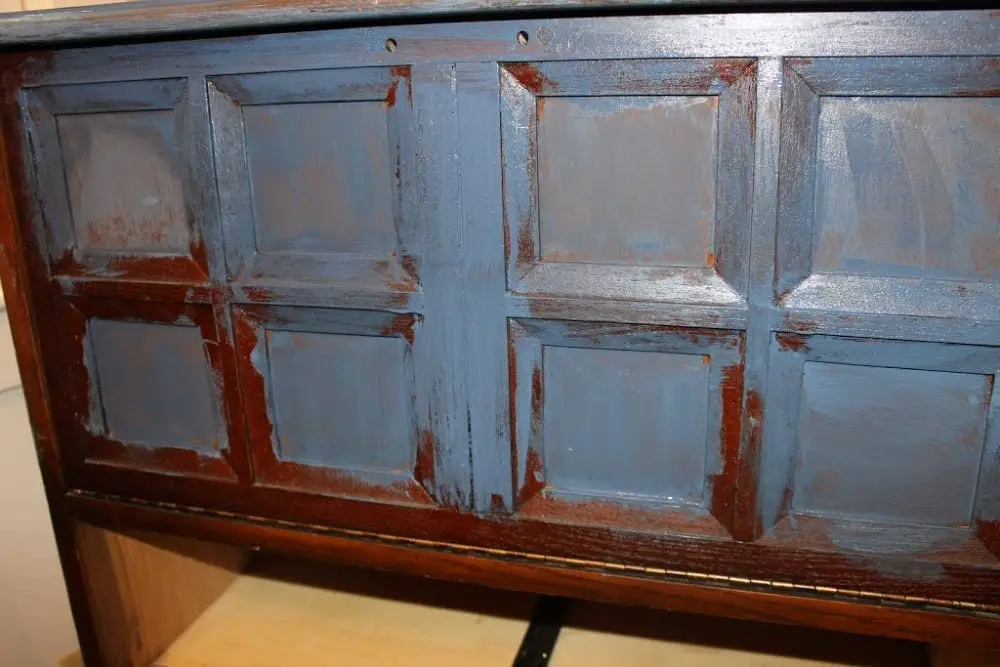
Since the coverage wasn’t what I wanted, I waited for the first coat to dry, and then my painting assistant and I gave it a second coat. After it dried, I reattached the hardware.
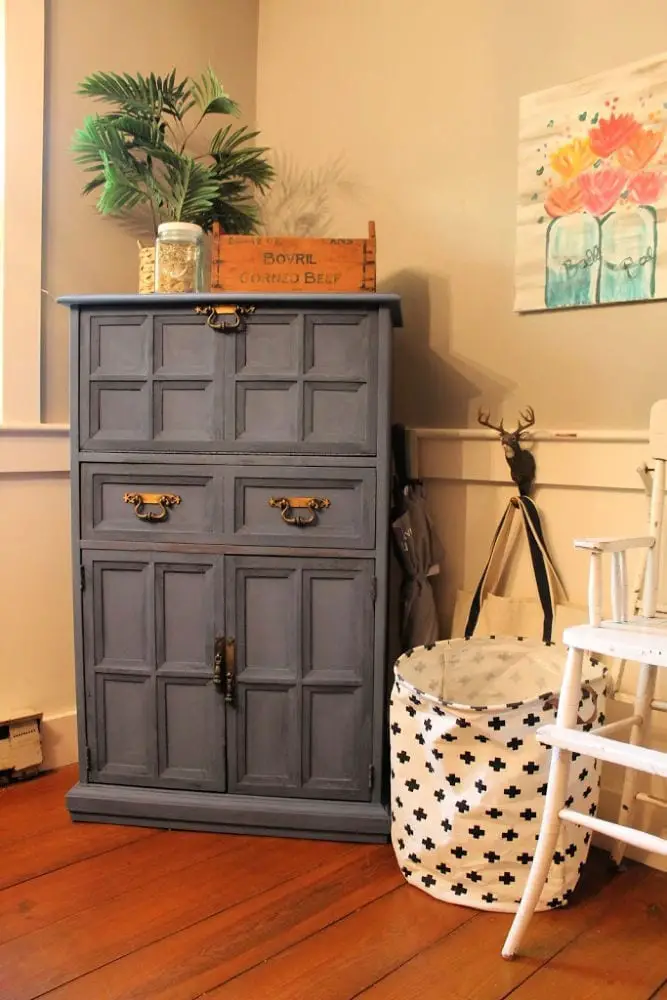
Here’s how it turned out…
The Pros and Cons of Using Chalk Paint for this Project
In the end, it’s a definite improvement but wasn’t exactly how I had hoped it would turn out.
Pros:
- Chalk paint is super easy to use
- Speedy drying
- No prep needed
- Can be sanded or have antiquing wax added
Cons:
- The color on the paint can is NOTHING like how it turned out.
- It takes multiple coats to achieve a full coverage look.
In the end, I think chalk paint was a good product to use for this project solely because there was zero prep needed. However, I’d be a little hesitant to use it on projects that I don’t want to appear too rustic.