Picture this:
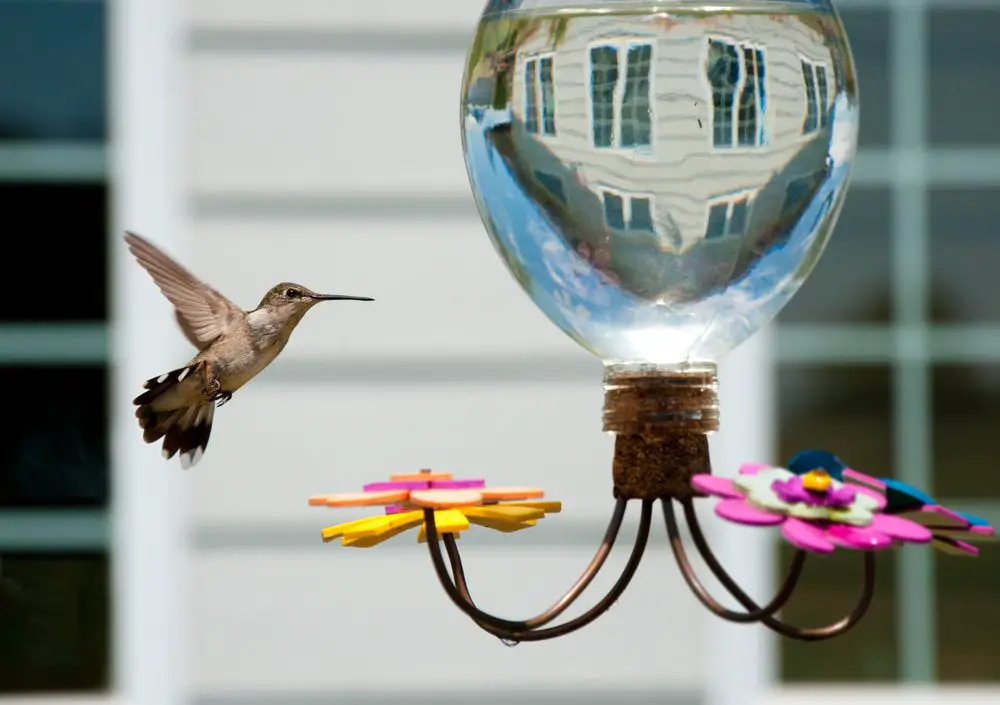
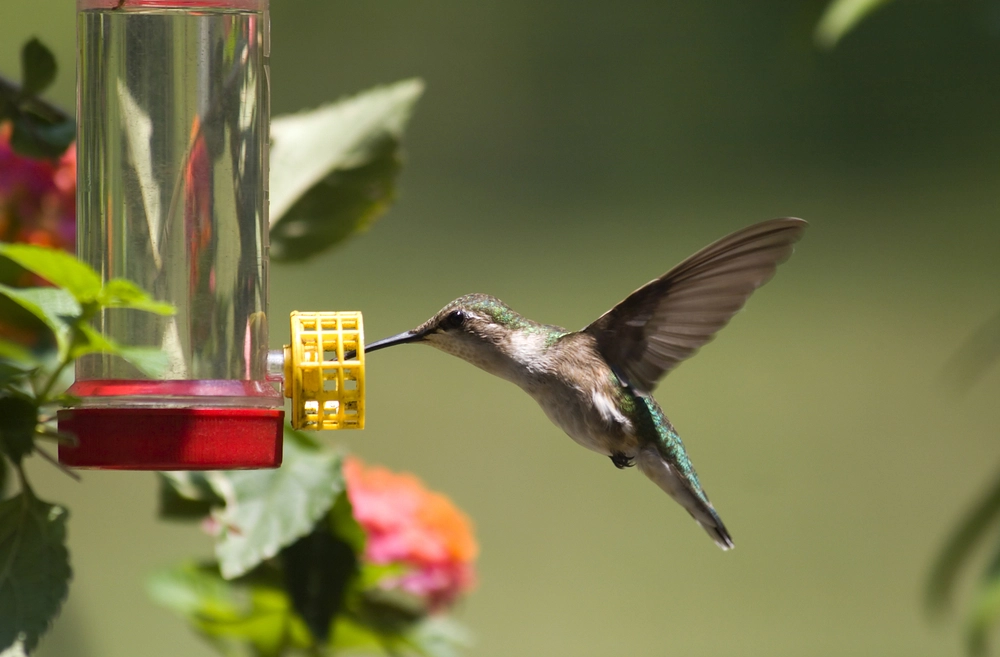
It’s the first warm day of spring. You wake up early, brew some coffee, and walk outside to bask in the new year’s warmth. Then, you see a flash of green and blue flit in front of you. After a moment of trying to focus on the quick-flying colors, the bird stops and hovers, its wings a blur as it stares at you.
Spotting a hummingbird as the weather begins to warm is not an uncommon occurrence, and many actually consider it a sign of good luck and good tidings that the year has yet to bring. Because of this, those who happen to live in hummingbird hotspots waste no time rushing out to the store to purchase a brigade of hummingbird feeders to attract this gorgeous flyer.
What many people fail to realize, however, is that hummingbird feeders require more maintenance than simply filling them up whenever they get low on nectar. Because of the compounds in hummingbird nectar/sugar water, you must clean these feeders thoroughly on a regular basis.
So, how do you clean a hummingbird feeder so that it doesn’t present a bacterial risk to the wildlife?
The process is actually quite simple:
How Do I Know if My Hummingbird Feeder Needs Cleaning?

The first sign that your hummingbird feeder needs cleaning is a decrease in traffic to it. Hummingbirds are quite intelligent birds by nature and can quickly tell when food or drink isn’t up to par. They would rather go without sustenance than to drink something that has gone bad or seems moldy.
The next thing you’ll notice once hummingbirds are coming to your feeder a little less is that buildup is occurring around the spouts of the feeder. This can look like many things, but most often, it appears as a slimy, black-ish substance that has begun to appear in the tiniest crevices.
This substance you’re seeing is a type of mold caused by decaying glucose (sugar) from the nectar within the feeder. Over time, sugars build up in these crevices because wind and rain can wash or wipe them away and develop into mold that is dangerous to wildlife if consumed. If you see this mold beginning to form, take down your feeder immediately for cleaning.
How Do I Clean my Hummingbird Feeder?

Luckily, cleaning a hummingbird feeder is a simple process, as most are designed to easily come apart so that those small crevices are easier to reach. Here are some easy, step-by-step instructions you can follow to ensure your hummingbirds are receiving only the best:
Step 1: Empty Your Feeder
Begin the cleaning process by emptying the feeder into a sink (never outside in the grass, as animals could consume the sour nectar). Additionally, do not try to save the leftover nectar, as it does spoil.
Once the excess nectar has been dumped from the feeder, you need to flush the container with hot water and proceed to the next step.
Step 2: Disassemble the Feeder
As I mentioned previously, hummingbird feeders are usually built to easily come apart so you can clean the areas that need it most. To make cleaning as easy as possible, disassemble your feeder into the smallest individual pieces you can without breaking it.
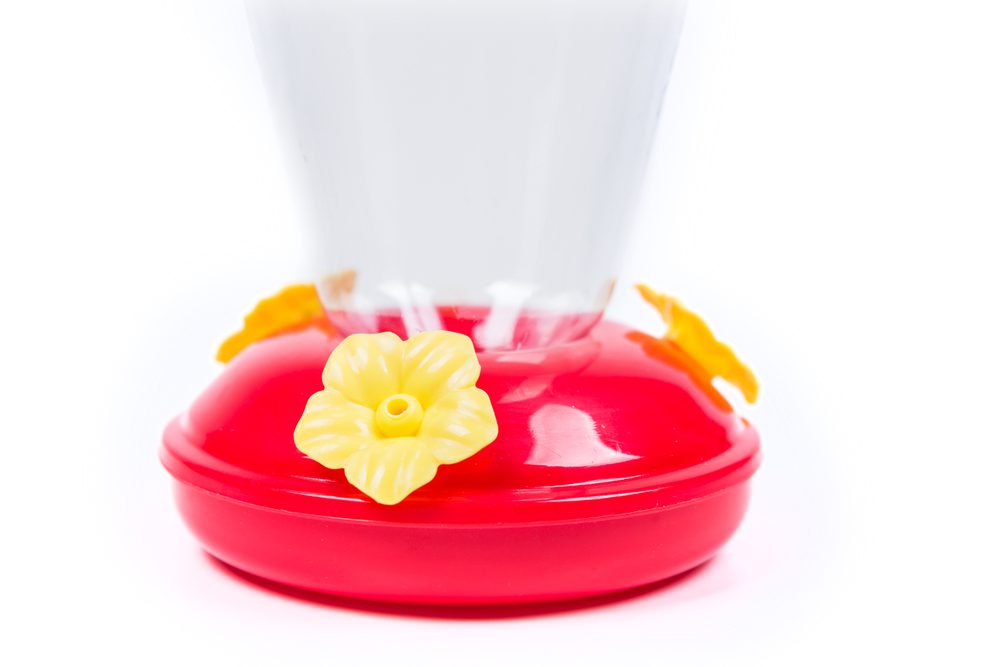
Generally, you’ll be able to unscrew the top and bottom of the feeder, take off the knobs where the birds feed, and even detach those knobs from the decorative yellow flowers around them. Even the yellow guards that cover the feeding ports should be able to be easily removed.
Step 3: Soak the Pieces
Now that you have your feeder disassembled into various smaller pieces, you can begin soaking it to thoroughly cleanse all those small nooks and crannies.
To do this, fill a sink or bucket with water as hot as you can stand and mix in a few squirts of dish soap as it fills. Next, place the large container and all of the small components of the feeder into the solution and leave them to soak for 1-2 hours. This will disinfect the feeder and loosen up any leftover mold residue or sugary buildup for easier cleaning.
Step 4: Scrub the Feeder
Once the feeder has soaked for the allotted amount of time, begin scrubbing it while still in the mixture. Focus on areas where mold is heavy or there are lots of small crevices. Then, thoroughly scrub down the inside of the bottle. If your feeder has a neck that you can’t reach into, you can fill it with a hot water and dish soap mixture and add rice until it is one-third full. Shake, and the rice should scrub the inside for you.
Repeat this as many times as necessary.
Step 5: Rinse for as Long as Needed
Once the scrubbing step is complete, rinse your feeder for as long as is necessary with cold water. This will eliminate all traces of suds and dirt. If the feeder is still slick with soap once done, continue to rinse until it isn’t.
Your hummingbirds will thank you for this, as they hate the taste of soap!
Step 6: Dry and reassemble.
For the final step, arrange the pieces of your feeder onto a surface where they can easily dry. Once they are completely dry, you may then reassemble and refill the feeder! Then, put it back into the yard and watch the hummingbirds flock back in!
Conclusion
If you follow these steps on how to clean a hummingbird feeder, you can enjoy the beauty of hummingbirds without having to worry about doing any harm.
Cleaning your hummingbird feeder is a simple process as long as you do it regularly.
Related: How to Deep Clean a Kitchen

