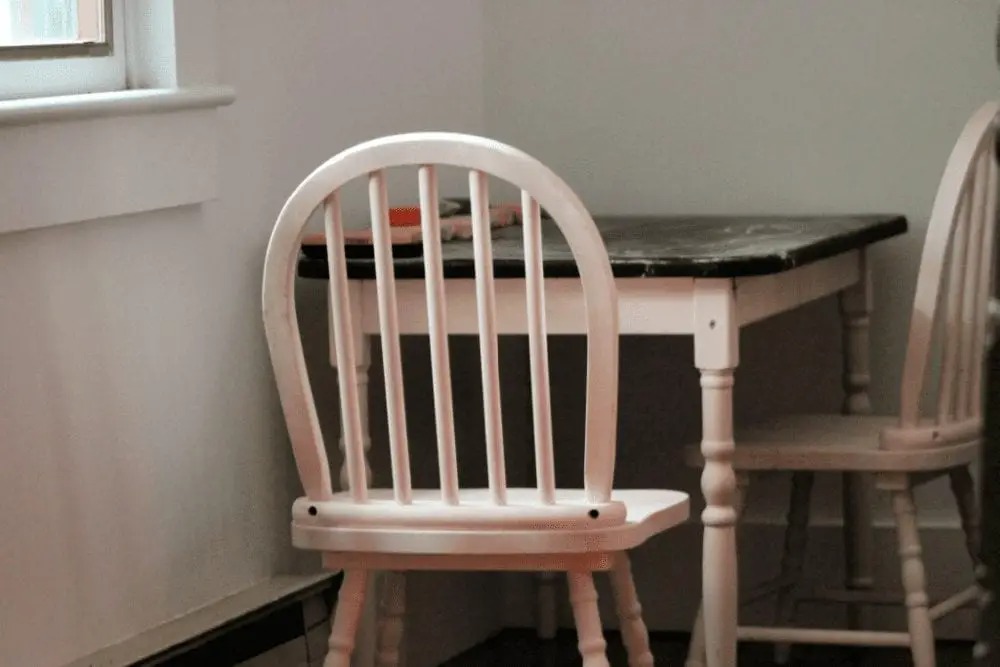
When my oldest two daughters were four and five, my then-boss handed me down a lovely, wooden kid’s table that his daughter had outgrown.
It had a couple of stickers and marker marks on it, but overall was in pretty good shape and suited them well.
Fast forward six years and my now-three-year-old daughter started using the table. This time though, the time had taken. My older girls had gotten into painting canvases with acrylic paint, and so, our little table became covered in paint globs.
It was still functional. However, I knew a little paint could make it look better than it ever had before. ?
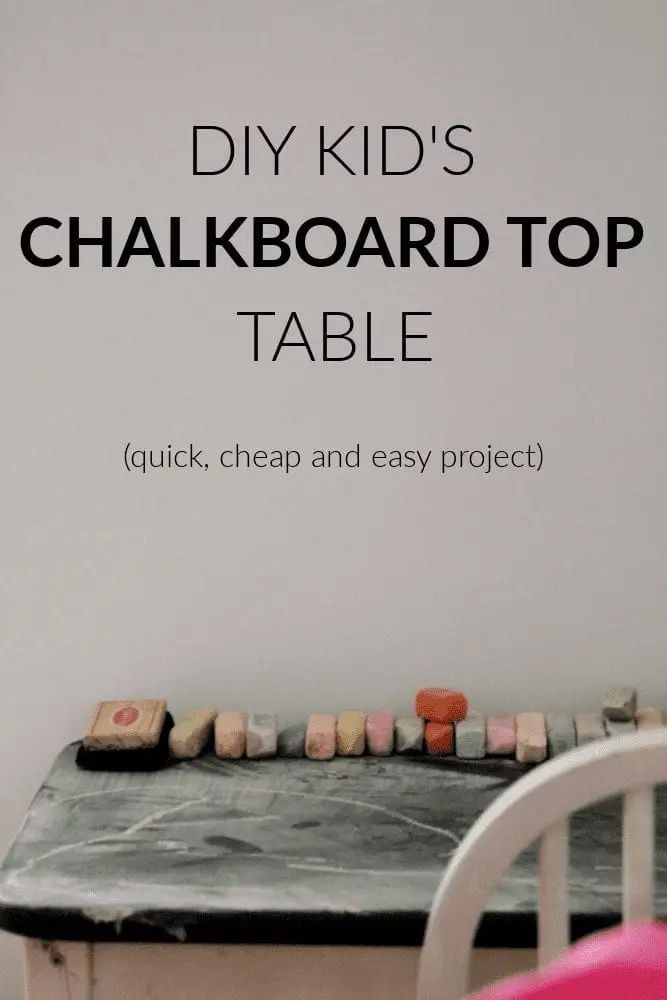
DIY Kids Table with Chalkboard Top
I had an extra paint of chalkboard paint on hand, so my middle daughter suggested we give the table a cool makeover.
I needed paint for the base, so I ordered two cans of Chalk Paint Spray Paint in Blush Pink from Amazon. (Isn’t it cool that you can actually order chalk paint off of Amazon?)
Here’s how I did a DIY Kids Table with a Chalkboard top:
Step 1 – Sand off the paint splatters.
The table and chairs had lots of acrylic paint splatters all over it from my girls painting canvases. I used a palm sander and sanded the paint and gunk off of the table.
Step 2 – Spray paint the chairs and base.
Next, I flipped the table upside down and laid the chairs out to be spray painted. I did three coats of Rustoleum Chalk Spray Paint in Blush Pink. (Not to be confused with actual chalkboard paint.)
I waited about an hour in between coats. I ended up using 1.5 cans of spray paint.
Step 3 – Prime the top.
After the base coats were fully dry, I brought the table in to prime the top.
I laid a sheet down to protect the floor and then gave the top of the table one coat of primer. (I used drywall primer because it’s what I had on hand from my bathroom project.)
Step 4 – Paint the top with chalkboard paint.
When the primer was dry, I rolled on two coats of Valspar chalkboard paint using a small nap roller. (I allowed a couple of hours in between coats.)
Step 5 – Let the chalkboard paint cure for 48 hours.
I let the paint cure 48 hours before I let my kids start using the table. When the chalkboard paint was fully cured, my girls had a super cute and fun table to play with.
All it cost me was two cans of spray paint plus the supplies I had on hand.