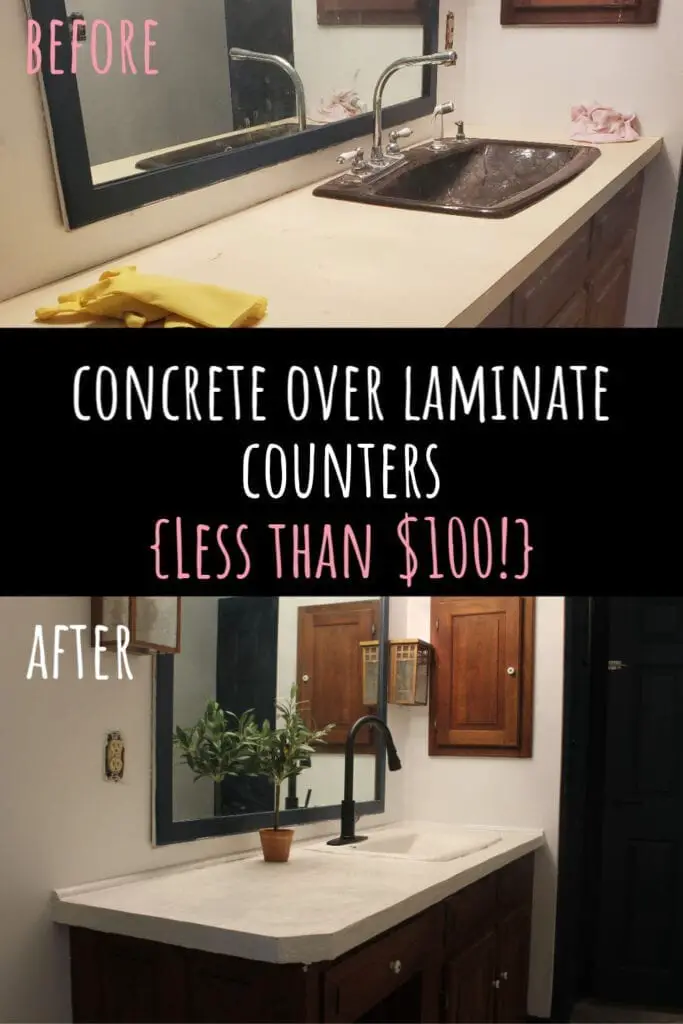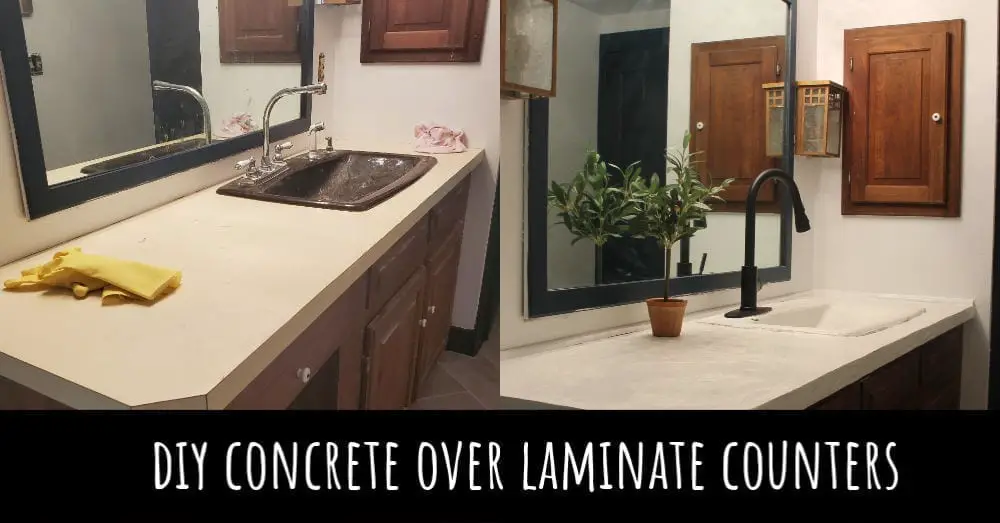
I love the look of concrete countertops. They can be rustic or modern and are an inexpensive alternative to laminate if you don’t have the natural stone budget.
So, when I started renovating my master bathroom, I knew I wanted to give concrete counters a try.
Instead of having new counters poured, I opted for the concrete over the laminate route. (And I even coated my 1970?s style sink in concrete!)
Here’s how I did DIY concrete over laminate counters.
Supplies Used
Before we get started, here’s everything I use and recommend.
- Ardex Feather Finish Concrete ( I used a little less than 1 bag)
- Trowels (Small and large)
- Sanding Sponges
- Palm Sander
- Sealer
- Disposable Buckets (I used old Dollar Tree chip bowls as a cheap alternative!)
DIY Concrete Over Laminate Countertops
Step 1 Clean and Sand
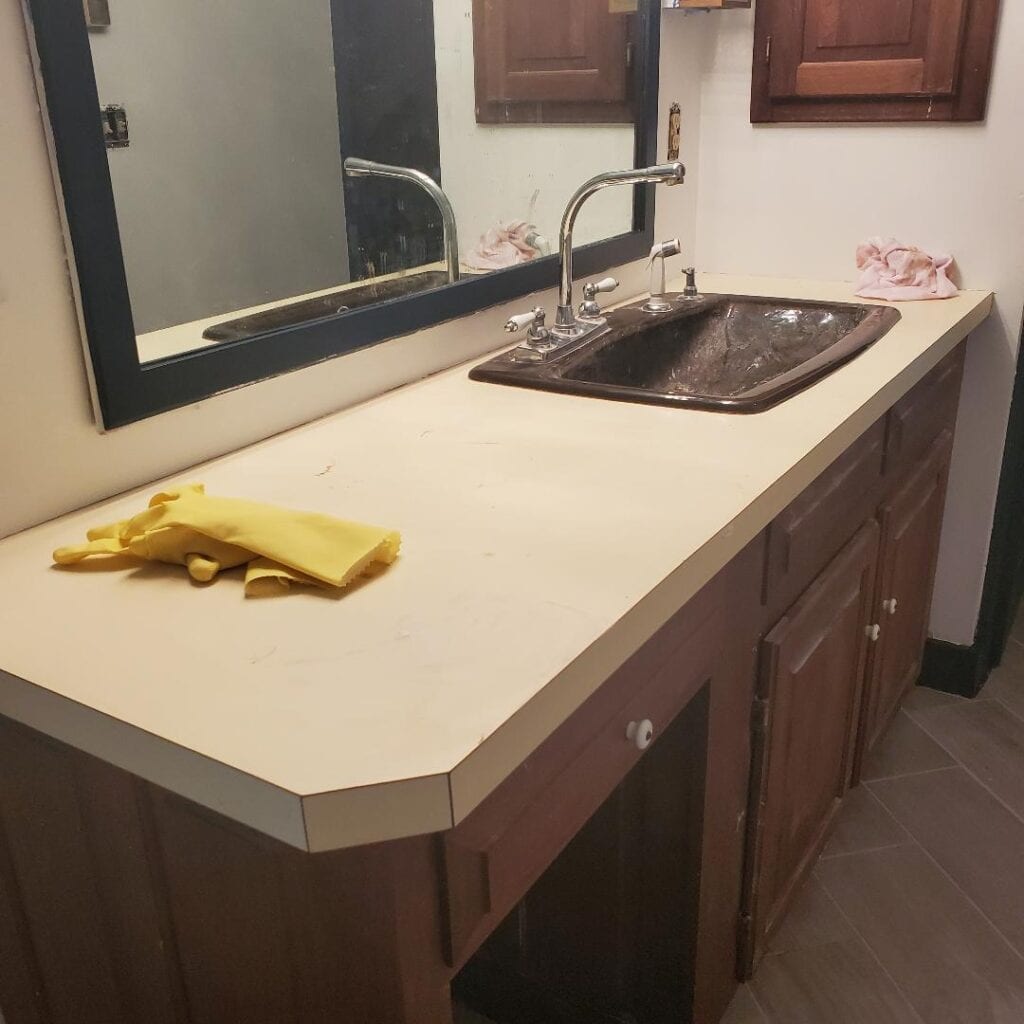
The first step is to prep your countertops. I used a 120-grit sanding sponge to rough the counters up. I also coated my sink with concrete, so I ran my sanding sponge over it as well.
The point of sanding is to create some rough surfaces for the concrete to stick to. You DO NOT need to go crazy with the sanding on this step. Just rough up the counters a little.
After the counters have been sanded, thoroughly clean them to remove any dirt, dust, and overall ickiness.
Step 2 Mix and Apply Concrete
With clean, dry countertops, you’re now ready for your first coat of concrete.
Mix your Ardex Feather Finish Concrete at a ratio of 2 parts concrete to 1-part water. My batches consisted of 2 coffee cups full of concrete mix with one coffee cup full of water. (Fancy measurements, I know.)
Once the concrete is mixed, you need to work quickly.
I scooped my concrete out with a small trowel and then used my large trowel to spread it out. A large trowel works best since it allows you to spread the most concrete at once.
Apply a thin layer. (My first layer was WAY too thick in some spots and caused the unfixable roughness. Especially in my sink.) You’re going to do a few thin layers – not thick ones!
As tempting as it might be once the concrete starts to set (about 1-2 minutes after putting it on the counter), DO NOT go back and try to fix any unevenness. This will probably only make it worse. Ask me how I know?

The color on the photo above is WAY off, but it’s a closeup of what happens when you try and trowel over concrete that has started to set.
Step 3 Allow Concrete to Set and then Sand
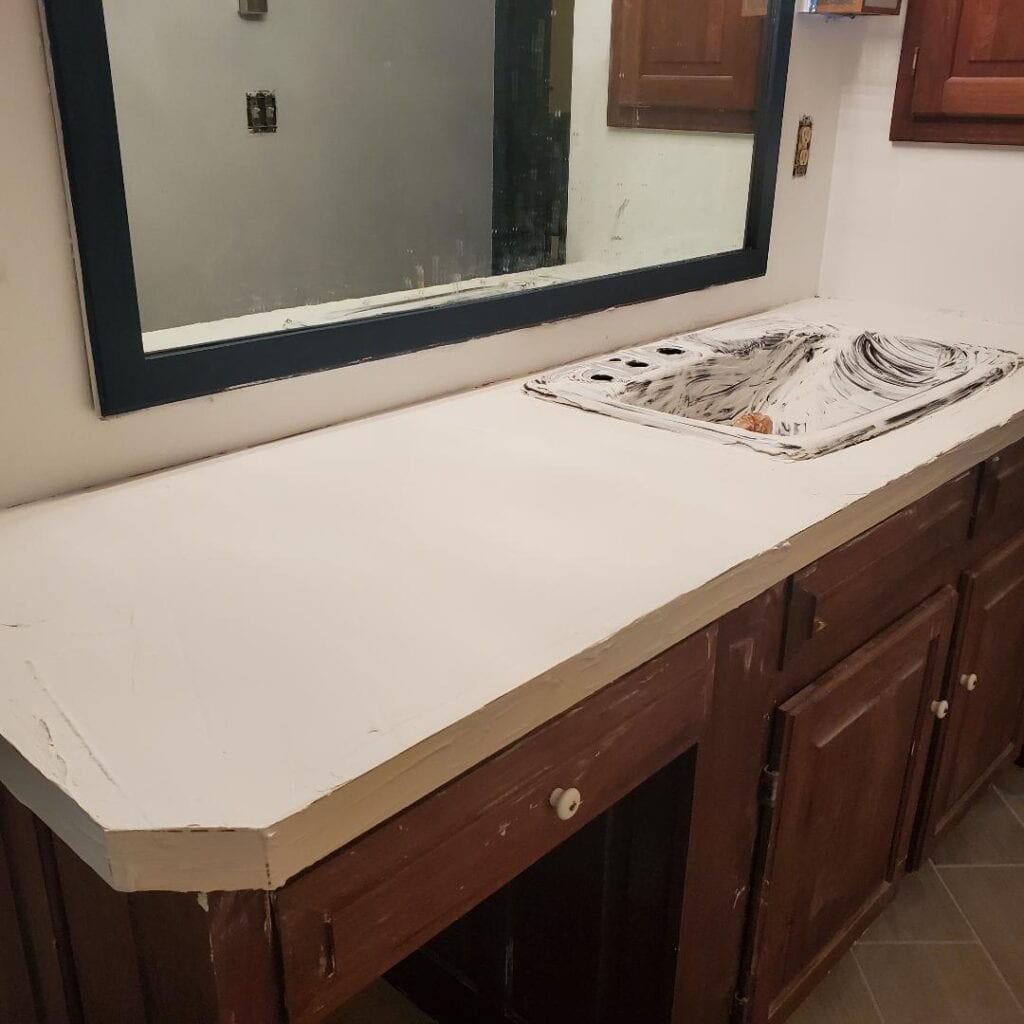
Give your concrete a minimum of four hours or until set before sanding or adding another layer. It needs to be completely set up. I waited around 24 hours between coats to be on the safe side.
Once your concrete is set you can give a light sanding to address any unevenness or lumps. Be sure to vacuum the sanding dust afterward.
Step 4 Repeat Steps 2 and 3 Until Desired Coverage
You’re now ready to apply your second coat. Use the same method you previously used.
Repeat steps two and three, allowing plenty of dry time in between coats until desired coverage is achieved.
I did 3 coats.
Step 5 Lots More Sanding

Once you’re happy with the coverage, allow your concrete to cure, and then you can sand.
If you didn’t make many mistakes and are happy with your end results, lightly sand with a 220-grit paper to achieve a smooth, ready for sealer feel.
If you’re like me and had some hiccups, you’ll need to start with higher grit sandpaper to smooth out the bumps. I started with an 80 grit to smooth out some of the ridges and unevenness, eventually working my way up to 220 grit.
Be warned: if you’re trying to smooth out unevenness, it will take A LOT of sanding.
I easily spent 4 hours sanding and did not perfect my counters. Eventually, I just decided to let it be.
Step 6 Seal Your Counters
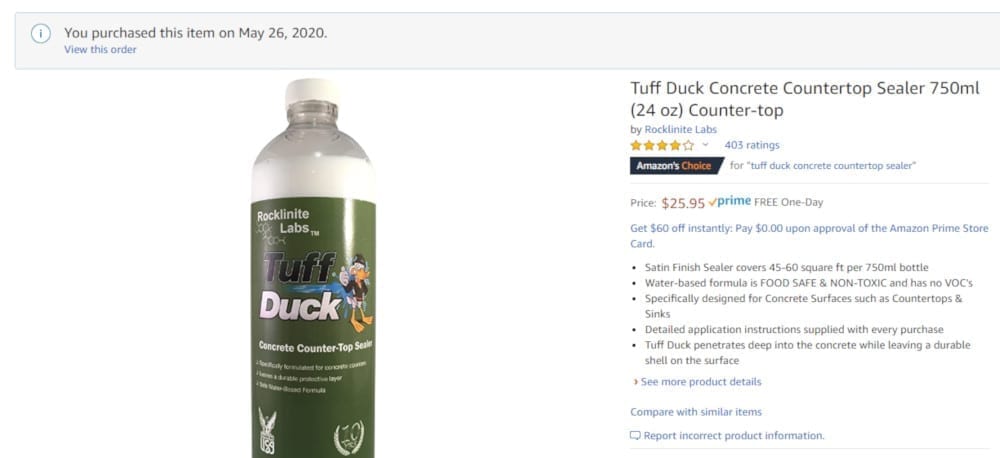
Everything I’ve read says sealing your counters is the make or break in the process. This caused a bit of decision paralysis for me. I ended up being really happy with the sealer I chose. It worked amazingly and was inexpensive.
I decided to go with a sealer you could wipe on versus brushing as many of the reviews I read warned about brush marks in the finish.
I chose Tuff Duck Sealer.
You pour it on a microfiber cloth, wipe down your countertop, let it dry and then apply a second coat. Amazingly easy, and it works well!
My countertops have a lovely sheen and are repelling water like nobody’s business. Highly recommend this sealer.
Mistakes to AVOID
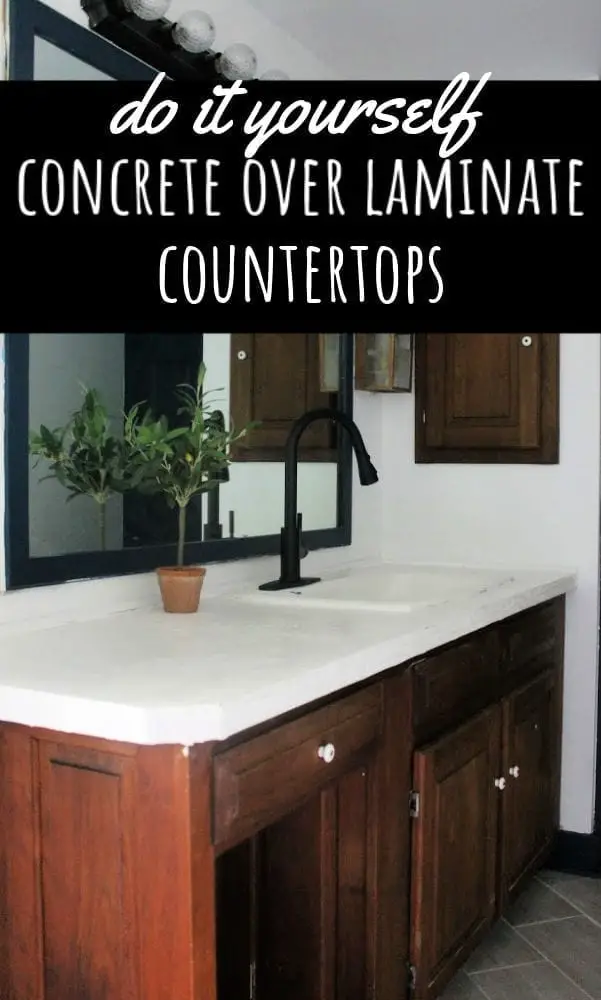
When I finished my counters, I wasn’t entirely sure about them, mainly because my sink looks pretty dang rough.
After living with them for a few weeks, I’ve completely changed my mind. I LOVE them.
Aside from the sink, they turned out good. However, I’m confident that I could now do them much better. But hey, you live, and you learn.
If I did them again, these would be the mistakes I would avoid.
DO NOT Leave Your Sink In
Applying the concrete to a flat countertop? Easy. Trying to work around a sink -not so much. The places where my counter meets my sink have more of a “natural” look versus streamlined.
I really wish I would’ve taken my sink out before doing the counters.
DO NOT Use Your Fingers if You’re Coating Your Sink
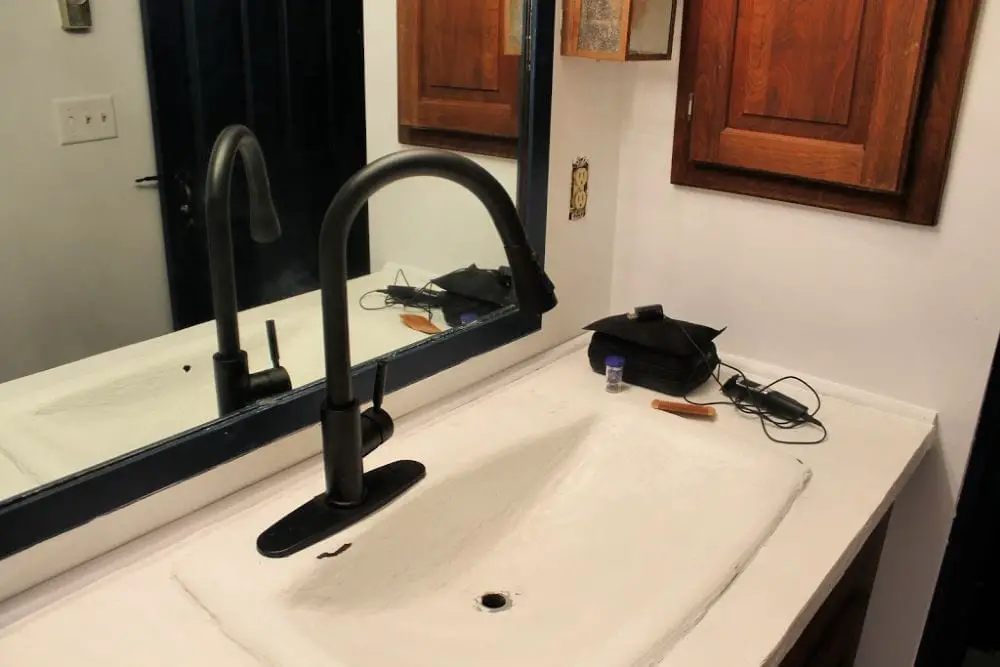
I had an ugly 1970?s brown sink. I knew that even if it turned out bad, I wasn’t out anything. So, I read a tutorial on applying concrete to a sink that said to use your fingers.
Bad idea.
Even with hours of sanding, my sink looks rough. Using your fingers will create SO MUCH unevenness that it’s about impossible to smooth out. I wish I would have made some type of applicator for a smoother finish.
DO NOT Think You Can Sand Out All Imperfections
You can’t. You just cannot.
Which is fine because the imperfections add some patina and character. However, if you go wild on the application thinking that you’ll sand it all down afterward, you’re going to be horribly disappointed.
Would I Do This Project Again?
Even though my DIY concrete over laminate counters aren’t perfect, they are 1000000 times better than before. They give my bathroom a cool, modern look and I really like them.
So yes, anywhere I had counters I detested, I’d try this again. I don’t think I’d go as far as to do my kitchen like this, but yucky bathrooms? Sure.
In fact, I wish I could redo this one again. With everything I learned, I’m sure I’d have a much smoother outcome.
