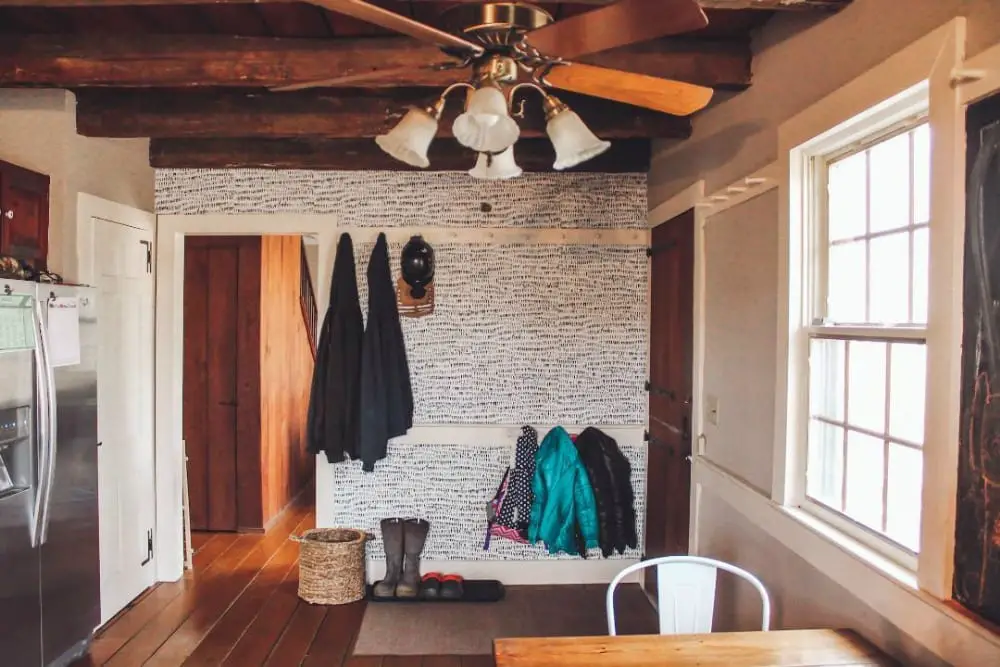
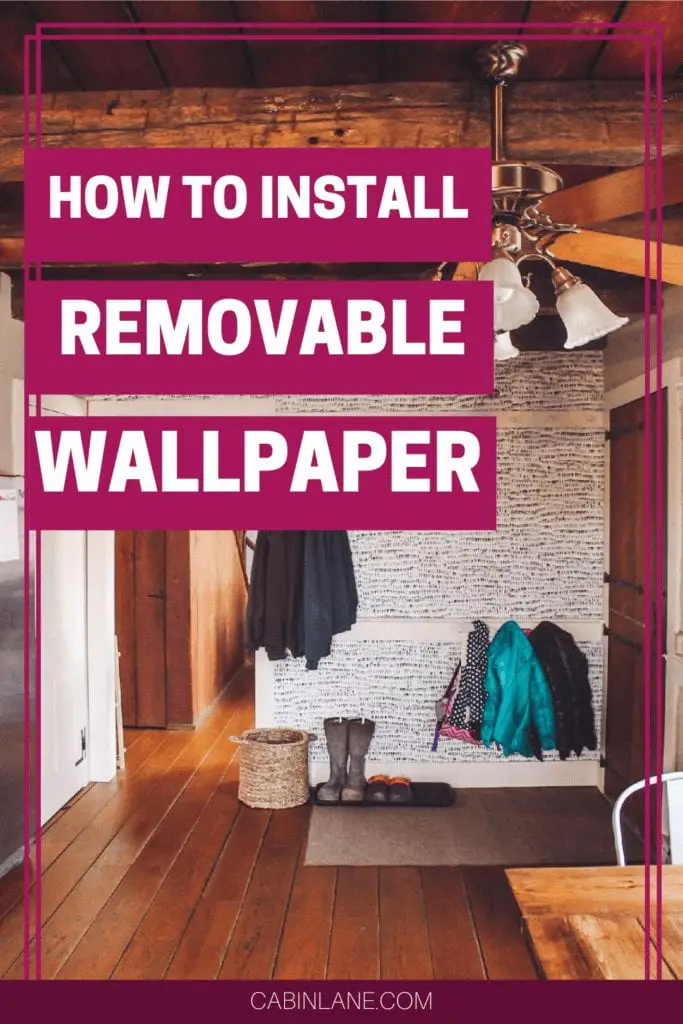
In my projects list, one of the things I wanted to do was install removable wallpaper. I had originally decided to do the hallway and dining room, but I changed my mind and added wallpaper to our entryway.
Since our entryway is the kitchen, I thought wallpaper would help define the space.
I chose NuWallpaper from Wall Pops. I got the Kylver, which was only $39 per roll.
(There were some other styles from different brands that I liked better (like this one), but those were outrageously expensive. Who would’ve thought that peel-and-stick wallpaper could cost that much?! If you want cheap wallpaper, look here.)
Installing the Wallpaper
I’ve never installed wallpaper, so I was a bit nervous.
The hardest thing about this wallpaper is that the random patterns don’t match up, so I did the best I could. (Wallpaper with repeating patterns would be easy to match up.)
Other things I learned:
- If you mess up, it’s straightforward to reposition.
- It didn’t pull any of the paint off the wall after being repositioned.
- It seems like it would be super easy to remove if you got tired of it. (Update: I did switch it for a different style and it was very easy to remove. Pic of the new style below.)

How to Hang Up Removable Wallpaper
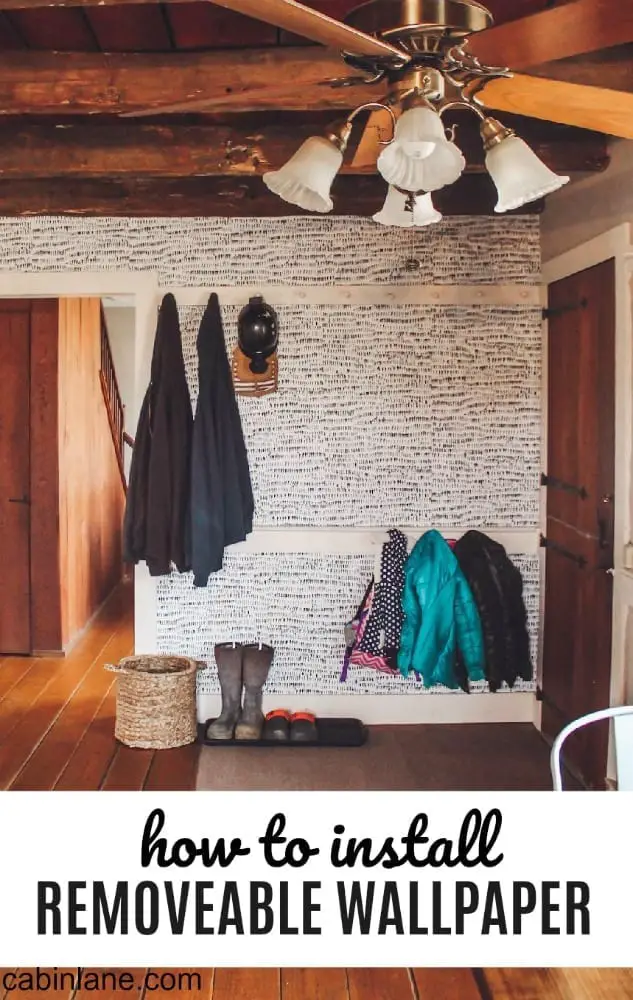
If you’ve never installed removable wallpaper, you’ll need a smoother and a utility knife. (I used this Exacto Knife.)
Step 1 – Clean your wall.
Clean your wall. My wall wasn’t terribly dirty, so I just wiped it down with a wet washrag and let it air dry.
Step 2 – Start wallpapering.
Start at one end of the wall and use the corner as a guide. (Although it’s important to note that your walls probably aren’t completely level.)
Leave 3-5 inches of extra paper at the top and bottom.
Pull the backing off and expose just a few inches of the wallpaper at a time. This will help you keep the paper straight and prevent the bottom from sticking to the wall.
Smooth out air bubbles as you go.
Step 3 – Match up the pattern.
Repeat the previous steps matching up the pattern as you go.
(Remember, if you mess up, it’s easy to reposition.)
Step 4 – Trim off the edges.
Once your wall is done, go back and trim off the excess paper. I used my smoother as a straight edge and ran the Exacto Knife over it.
Before & After of Removable Wallpaper
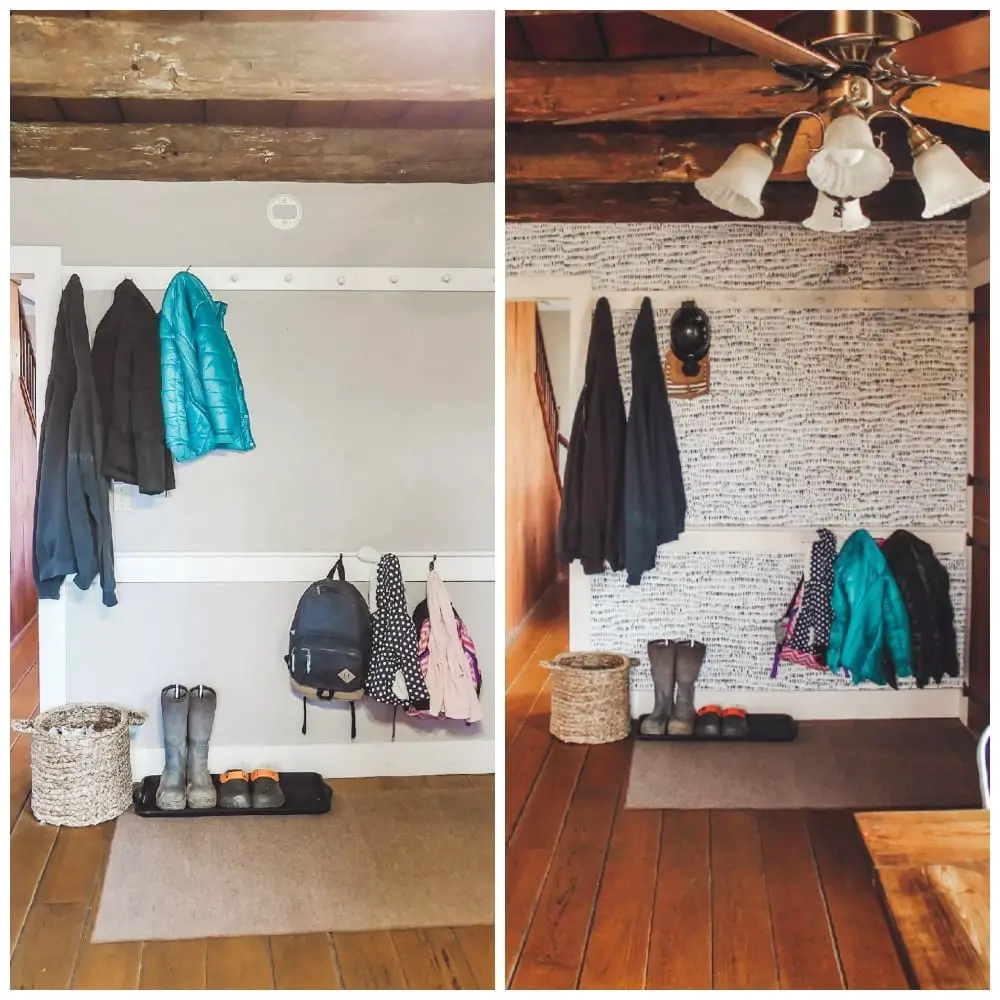
Here’s a side-by-side of the before and after.
This was a fast and easy project that really added a lot of interest to the room. I can’t wait to do another wall!
Have you used removable wallpaper yet?
[…] need to actually do it yourself. Painting, tiling, installing faucets, refinishing furniture and hanging wall paper are not hard. There are tons of tutorials on YouTube. Doing these things only seems scary until you […]